

Why track vendors
If you sublet paint correction to a specialist for $200 and don’t record it, your reports think that job was pure profit. Tracking the vendor cost means your Insights show what you actually made.Adding a vendor
1
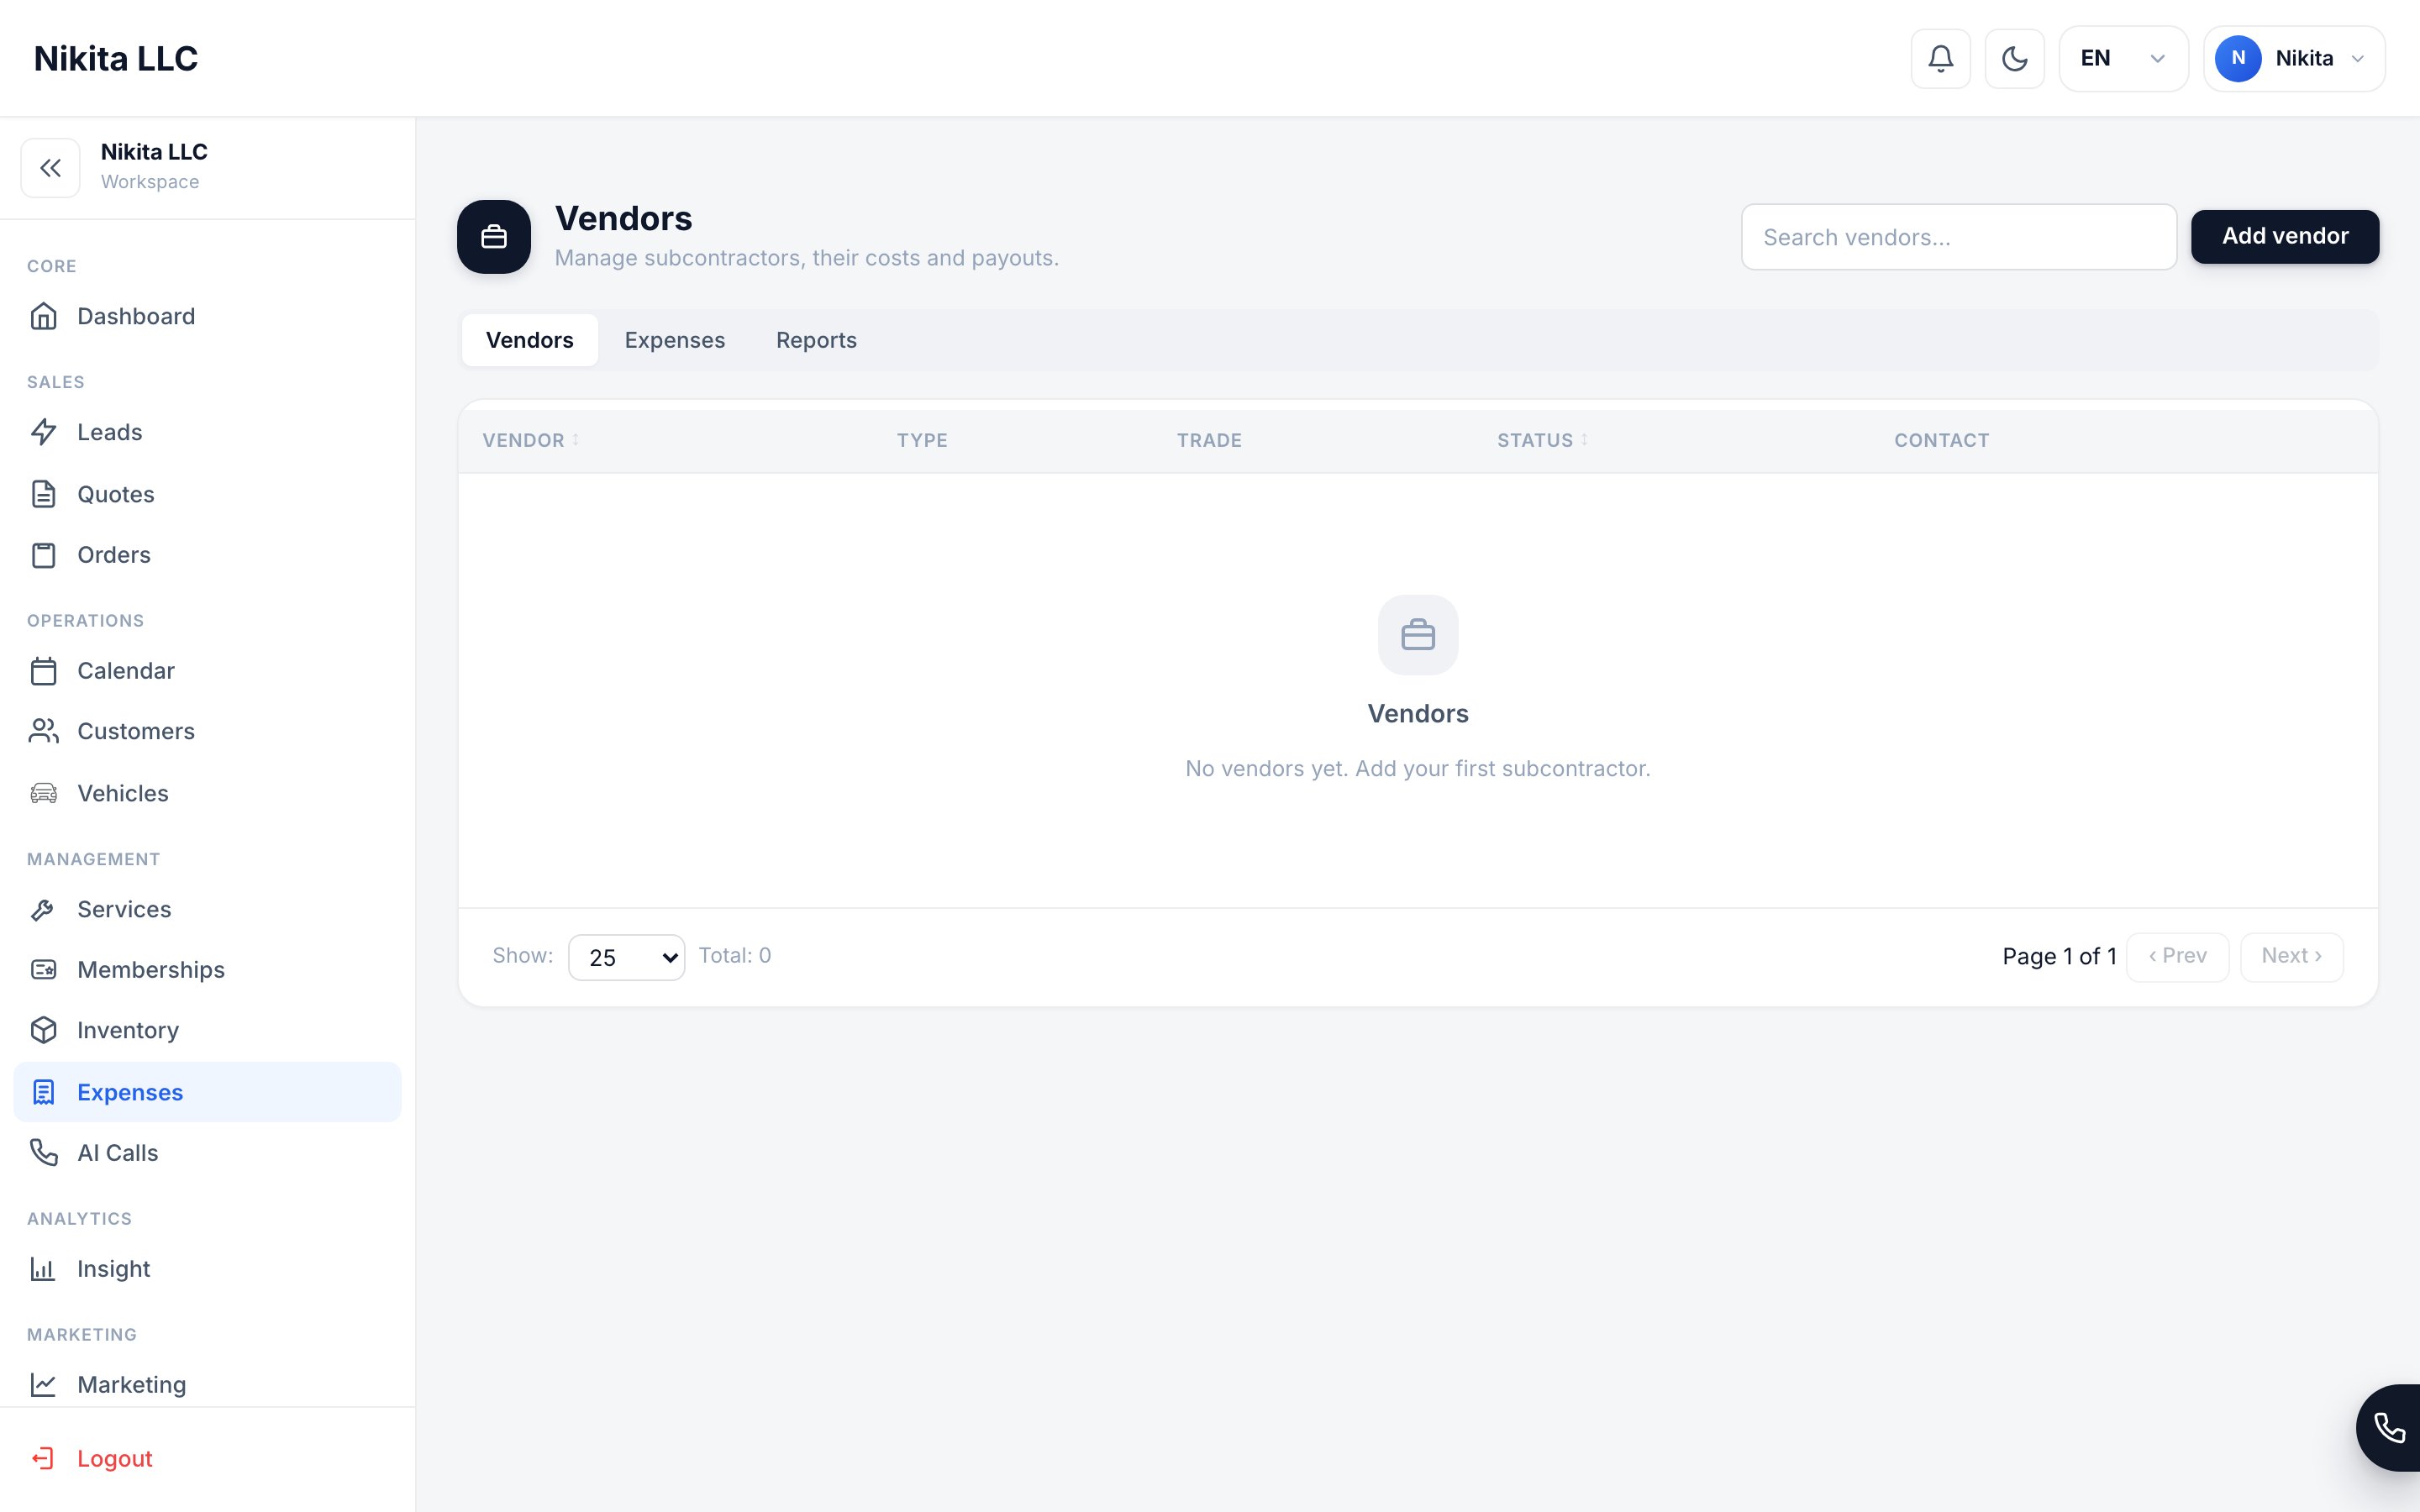
Open Vendors
Go to Vendors in the main menu.
2
Add a vendor
Enter the vendor’s name, type, status, country, payment terms, and contact details. You can also add legal and tax information when your role includes vendor financial access.
3
Set default rates (optional)
Choose a default cost model and value if you regularly use this vendor. These defaults make it faster to assign vendor costs to services and jobs.
Vendor profiles
Open a vendor to see its contact and financial details, compliance documents, related orders, and expense or payout history. Depending on your permissions, you can edit the vendor, configure year-end reporting, and open its secure vendor portal. Vendor documents are for compliance records such as insurance, tax forms, licenses, and certifications. They are not attachments to an individual expense.Connect vendor costs to jobs
When a job involves outside work, assign the vendor and cost to the order or service line. The cost is included in job profitability. An order cost that has not yet been recorded as an expense also appears in Order costs to pay, so it is not lost between operations and accounts payable.Expenses created from order costs stay linked to their source. You cannot change their vendor or expense type independently from the original job cost.
Expenses
Use the Expenses tab as your accounts-payable ledger. It tracks recorded costs, due dates, balances, payment status, and links back to orders when applicable. The summary cards separate four useful numbers:
Common expense types include:
When you add an expense manually, choose a vendor, expense type, amount, expense date, and status. The due date starts from the vendor’s Due on receipt, Net 15, or Net 30 payment terms, and you can adjust it before saving.
Payments, corrections, and deletion
Record a payment against an expense to reduce its open balance. If a payment was entered incorrectly, void it instead of erasing its history. An expense with an active payment is locked against edits and deletion. Void every active payment first; after that, you can edit or delete the expense. Voided payment rows remain in the ledger for audit history. Deleting an expense created from job costs does not delete those job costs; it unlinks them and returns them to Order costs to pay.Reports
The Reports tab shows spend over time, expense-type mix, vendor concentration, spend by vendor, and year-end reporting data. Use the date and vendor filters to narrow the view before exporting or reconciling.Vendor portal
The vendor portal gives an invited vendor a restricted view of its own profile, compliance documents, and payment or expense history. Vendors sign in with an SMS verification code and cannot browse other vendors or workspace data.Vendor documents
Vendor documents
Use a vendor’s Documents tab for compliance files such as insurance certificates, tax forms, licenses, and certifications. Expense-level invoice and receipt attachments are not currently available.
What you can see and change depends on your role. Vendor financial details, expenses, payments, and reports require the relevant vendor financial permission.
Orders
Add vendor costs to jobs.
Insights
See profit after vendor costs.
Inventory
Track supplies and materials.
Export
Export financial data for accounting.