

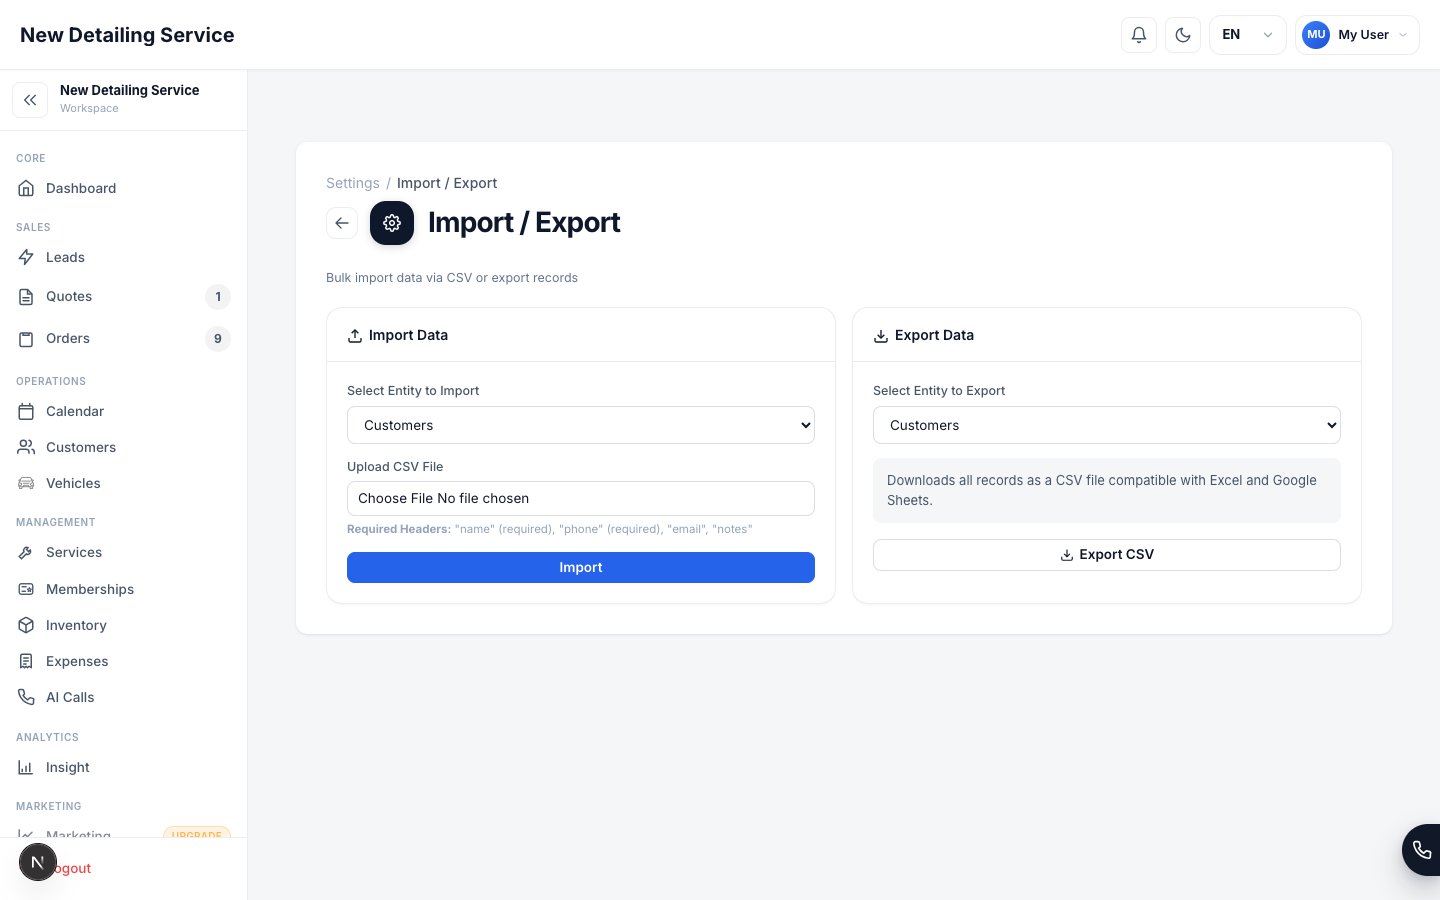
Import / Export settings — upload CSV files, validate rows, and move data in or out of the CRM.
What you can import
Preparing your CSV file
A clean CSV file prevents import errors. Before uploading:1
Export from your current system
Export your existing data as CSV from whatever tool you’re currently using — another CRM, a spreadsheet, QuickBooks, or a custom database.
2
Clean the data
Open the CSV in Excel or Google Sheets and:
- Remove completely empty rows
- Remove header rows except the first one
- Ensure phone numbers are in a consistent format (e.g.,
+13125550100or3125550100) - Remove any special characters that might break parsing
- Make sure required columns are present and named correctly
3
Match column headers
Rename your column headers to match the expected field names. The CRM uses the column header to identify which field to populate.
4
Save as CSV
Save the file as
.csv (comma-separated, UTF-8 encoding). Avoid Excel’s .xlsx format — use CSV only.Running the import
1
Choose the entity type
In the Import / Export page, select what you’re importing: Customers, Vehicles, Services, or Inventory.
2
Upload the CSV file
Click Upload and select your prepared CSV file.
3
Review validation results
The CRM validates your file before importing. If there are errors (missing required fields, invalid phone numbers, unrecognized columns), they’re listed with row numbers so you can fix them.
4
Confirm and import
Once validation passes, confirm the import. Records are created in bulk and appear in the CRM immediately.
After the import
Review a sample of imported records to confirm everything looks correct:- Open a few customers and verify their names and phone numbers
- Check that vehicles are linked to the correct customers
- Confirm service prices imported correctly
- Verify inventory unit costs are accurate
Common import errors
Export
Export your CRM data to CSV for backup or accounting.
Customers
Manually add or edit customer records after import.