

Roles
Four built-in roles cover the needs of most detailing businesses:
Roles are a starting point. The permission matrix (described below) lets you fine-tune exactly what each role can do.
Inviting a team member
1
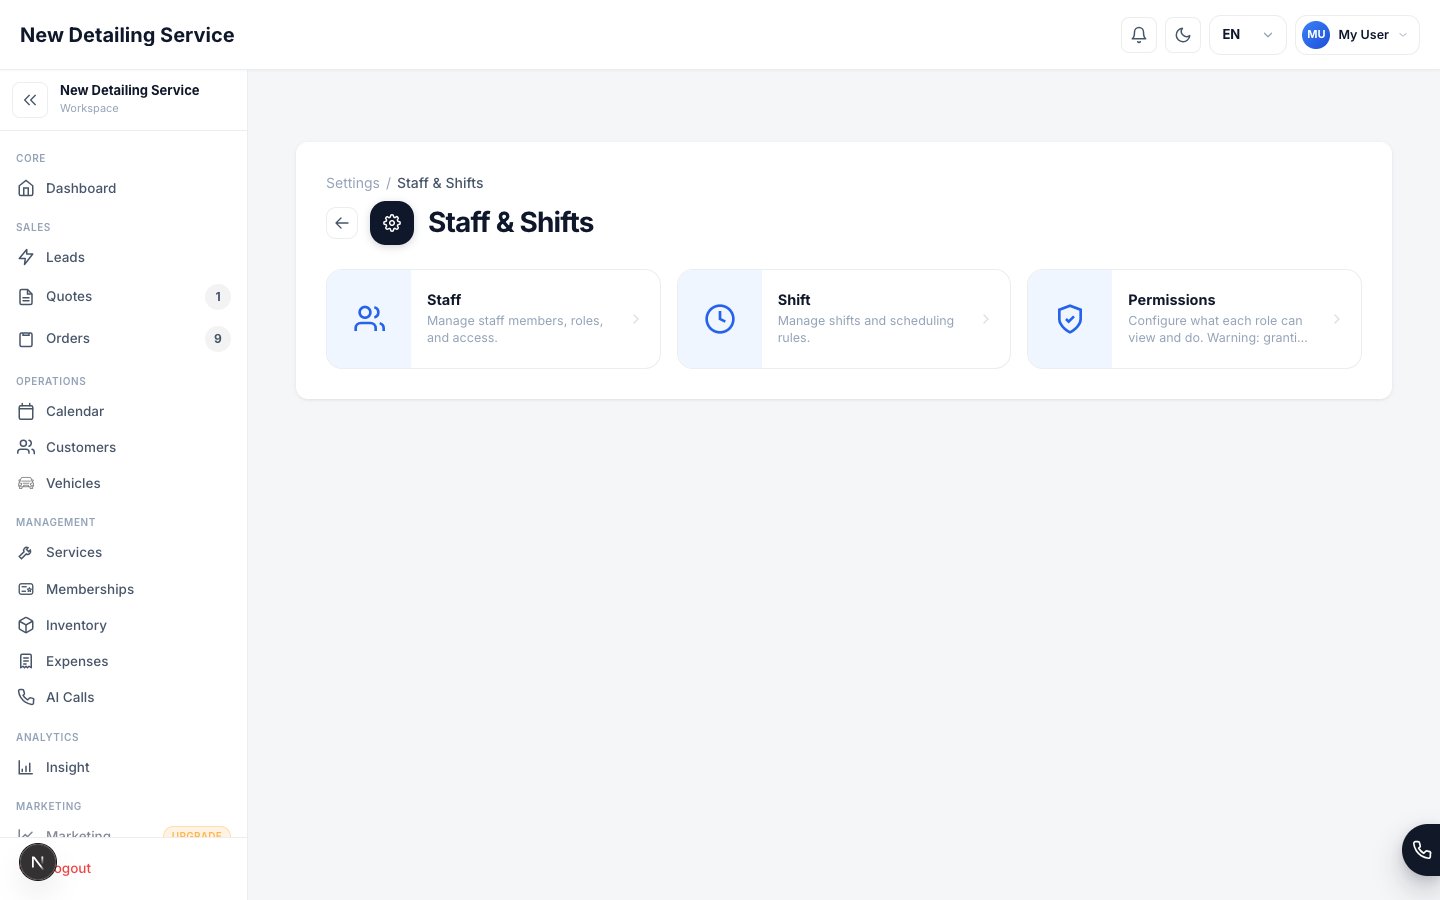
Open Staff & Shifts settings
Go to Settings → Staff & Shifts and click the Staff tab.
2
Click Invite and enter their details
Enter the team member’s name, email address, phone number (optional), role, and choose a calendar color. The color is how their orders and shifts appear on the shared calendar — pick something distinctive for each person.
3
Send the invitation
An invitation email goes to the address you entered. When they accept and log in, their account is connected to your workspace with the role you assigned.
4
Confirm access is correct
After they join, verify they can see what they need and nothing more. Open Settings → Staff & Shifts → Permissions and review the permission matrix if anything needs adjusting.
The number of staff accounts you can have is determined by your subscription plan. If you hit the limit, upgrade your plan from Settings → Account before adding more team members.
The permission matrix
The permission matrix gives you granular control over what each role can do. For every feature area, you can allow or deny view, create, edit, and delete actions per role.Operational features
Dashboard sections
Calendar permissions
Settings access
Managing shifts
Shifts define when a team member is working. They drive the Team Load view and can affect booking availability when Team or Advanced resources uses that staff member. In Team mode, staff can inherit the shared Business Hours when no dated shift exists, so you do not have to create a shift for every employee and every day. Simple capacity does not use staff schedules to limit public booking.Creating a shift
Go to Settings → Staff & Shifts → Shifts tab. Click Add Shift, select the staff member, set the start and end time, and save. You can also create shifts directly from the calendar by clicking an open time slot.Who can manage whose shifts
- Staff members can always create and edit their own shifts
- Managing other people’s shifts requires the Shift management permission
- Owners and admins can manage all shifts by default
Staff colors
Each staff member has a color assigned when they’re created. This color appears on:- Their order events on the calendar
- Their shift blocks on the calendar
- The Team Load panel on the dashboard
Calendar
See how shifts and orders appear on the team calendar.
Dashboard
Team load and My Day are driven by staff assignments and shift data.
Scheduling & Availability
Decide when staff schedules and qualifications should limit booking.