

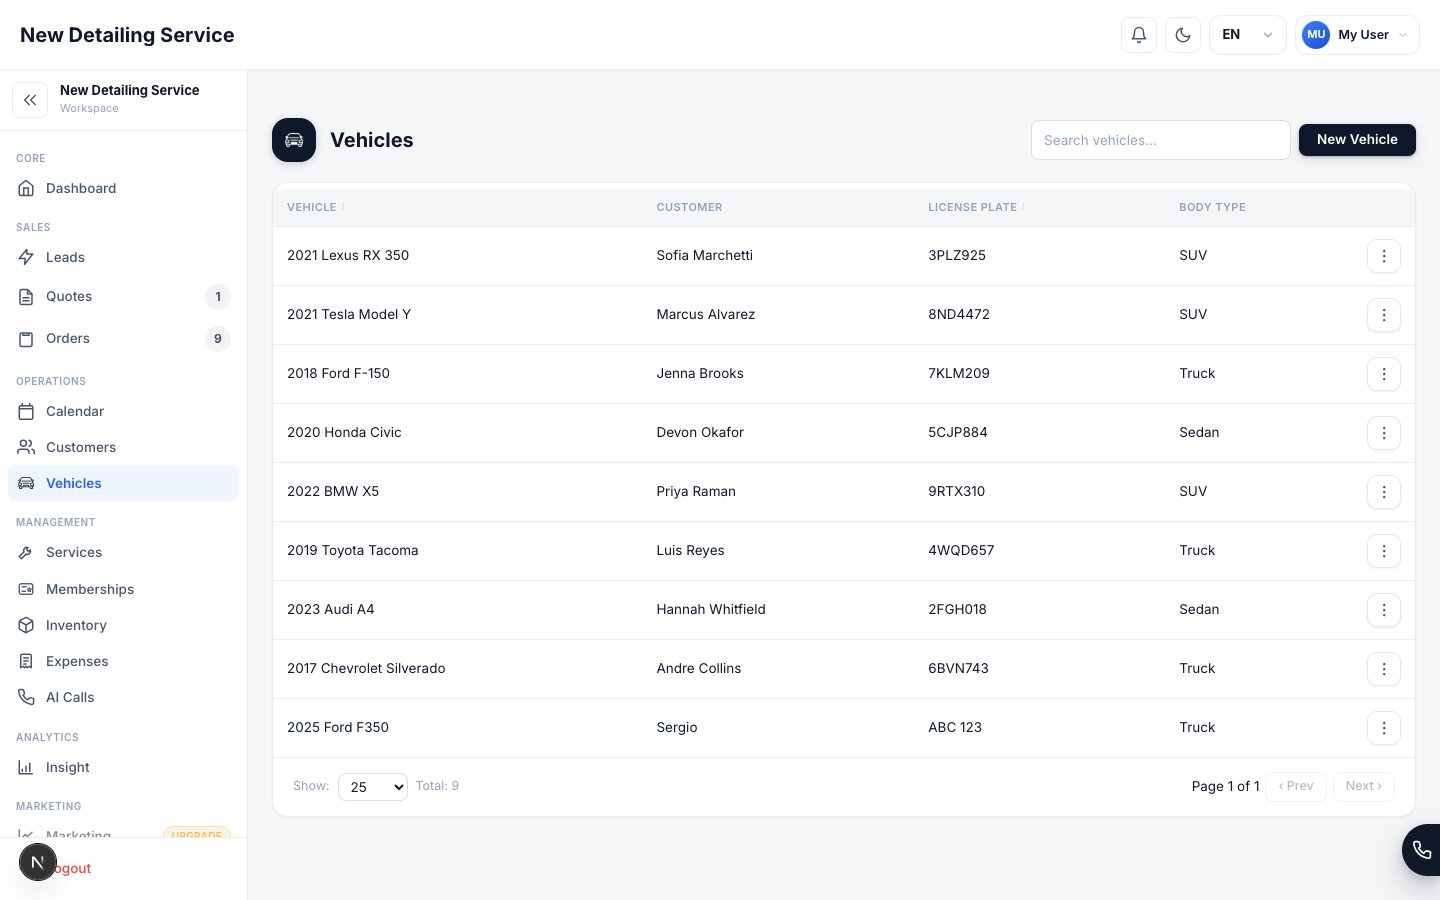
Vehicle details
Add a vehicle
1
Open the customer record
Vehicles are usually added from inside a customer profile.
2
Enter vehicle information
Add the make, model, year, VIN, plate, and body type.
3
Save the vehicle
Once saved, the vehicle can be selected in quotes and orders.
Scan a VIN from a photo
Instead of typing the VIN manually, you can take or upload a photo of the vehicle’s VIN plate and let the CRM decode it automatically.1
Open the VIN field
In the vehicle form, tap the camera icon next to the VIN field.
2
Take or upload a photo
Point the camera at the VIN plate (typically on the driver’s side door jamb or dashboard) and capture the image, or choose an existing photo from your library.
3
Review the decoded result
The CRM extracts the VIN using OCR and automatically fills in the make, model, year, and body type if it can decode the VIN.
VIN scanning requires the OCR integration to be configured in your account. Ask your workspace owner if the scan button is not visible.
Scan a plate to find a vehicle
Use plate scan when you are creating an order and the vehicle may already exist in your CRM. The scan reads the license plate and searches your workspace’s visible vehicle records. If there is one match, the CRM selects the customer and vehicle automatically. If there are multiple possible matches, choose the correct vehicle before continuing. If there is no match, you can keep typing manually or add a new vehicle.Why body type matters
Body type can automatically apply pricing adjustments to services that have Body Type Adjustment enabled. Example:- Sedan: base price
- SUV: base price plus surcharge
- Truck: base price plus larger surcharge
Best practices
- Select the correct body type before sending a quote
- Use VIN and plate when available to avoid duplicate vehicle records
- Keep repeat vehicles attached to the same customer profile for cleaner history